I'm cold.
The fall weather seemed to last so long this year! It's winter now, though. I finally got out my winter jacket after getting chilled all the way through last weekend at the parade.
I shouldn't complain because so many people in this world are perpetually cold. They don't have any way to warm themselves at all. For us, there are plenty of ways stay warm, including wearing sweaters, gloves, hats, & coats, wrapping up in a nice blanket, drinking a mug of tea, or sitting by a blazing fire. I'm very thankful for those comforts.
The Bup told me that he's been extra cold this year. His office at work is chilly, our house temp is set at 65, & winter's just beginning!
In addition to all the ways we can wrap our bodies in warmth, I went searching for ways to feed us that will warm us up from the inside out. I ran across the idea that baking/roasting your foods makes them more warming to the body. There was a conflicting notion, however, that raw foods keep you warm because they require extra energy to bring to body temperature & digest. Either way, a good balance is healthy & I really love feeling that warm blast of air when I open the oven door!
Here's a list of naturally warming foods that I found & compiled for you! I know we'll be using it to eat from through the winter. It's supposed to be a cold one.
*Foods with a Warming Energy*
Herbs & Spices:
Anise
Basil - Basil Almond Pesto
Black & white pepper
Caraway
Carob
Cayenne - Pinto Spelt Burgers
Chives
Cinnamon - Pumpkin Banana Muffins
Cloves
Coriander
Cumin - Roasted Curried Root Vegetables
Dill
Fennel
Garlic - Roasted Garlic & Kale Spread
Ginger - Apple Pumpkin Beer Bread
Ginseng
Nutmeg - Hot Cross Buns
Paprika - Cajun Seasoning Mix
Parsley
Rosemary
Tea (beverage)
Turmeric
Nuts, Seeds & Grains:
Chestnuts - Roasted Chestnuts
Millet - Vegetable Millet Salad
Oats - Crock Pot Steel Cut Oats
Pine nuts
Quinoa - Curried Pumpkin Quinoa Soup
Rice milk
Sunflower seeds
Walnuts
Wasabi
Wild rice - Wild Rice, Pumpkin & Cannellini Soup
Condiments & Sweeteners:
Brown sugar
Honey - Honey Mustard & Onion Potato Wedges
Horseradish
Rice wine or vinegar
Vinegars - Rossetti's Italian Vinaigrette
Fruits & Vegetables:
Carrots - Carrot Spice Cake
Chili peppers
Coconut - Poppity Popcorn
Dates
Green onions
Green/red bell peppers - Pepper-only Pizza
Kumquat
Leeks
Mustard greens
Onion - Attempting Chipotle Burritos
Papaya
Parsnips
Root vegetables - Roasted Beets
Rutabaga
Scallions
Squash - Roasted Curried Butternut Squash
Sweet potatoes - Sweet Potato Beer Fries
Watercress
Eat well & stay warm!
[My main sources were here, here, & here.]

Showing posts with label freezing. Show all posts
Showing posts with label freezing. Show all posts
December 9, 2011

September 20, 2011
How To: Pumpkin Puree
I love pumpkin puree.

Remember that HUGE pumpkin we grew last year? Over 30 pounds?!

Seriously huge.

It didn't even fully ripen because the frost hit long before it had time to finish growing. I can't imagine the size if it had more time!

Even the chunks of it dwarfed my cutting board and even the toaster oven!

It broke our blender.

We got a new one for the second half.

Seriously a ton of pumpkin.
Well, this year, no random pumpkin vine started growing and by the time I thought to plant one it was too late.
Luckily, they're selling them at the market. I got one for $1 that weighed 8.4 pounds!
Since I love pumpkin so much, one of the most important things that I do in the fall is bake, puree, and freeze pumpkin. That way I have it ready to go all winter long.

Step 1: Buy a really huge pumpkin.
The bigger, the better. Once you get rolling, it's easiest to do it all at once. If you can't find a big pumpkin, use 2 smaller ones. I don't really like messes, so the less times I go through this process the better!
Step 2: Cut it in big chunks.
Preheat your oven to 375 before you start chopping. I usually chop the neck part into at least 4 chunks and then the round part in half. You will need a very sharp knife. Use carefully!
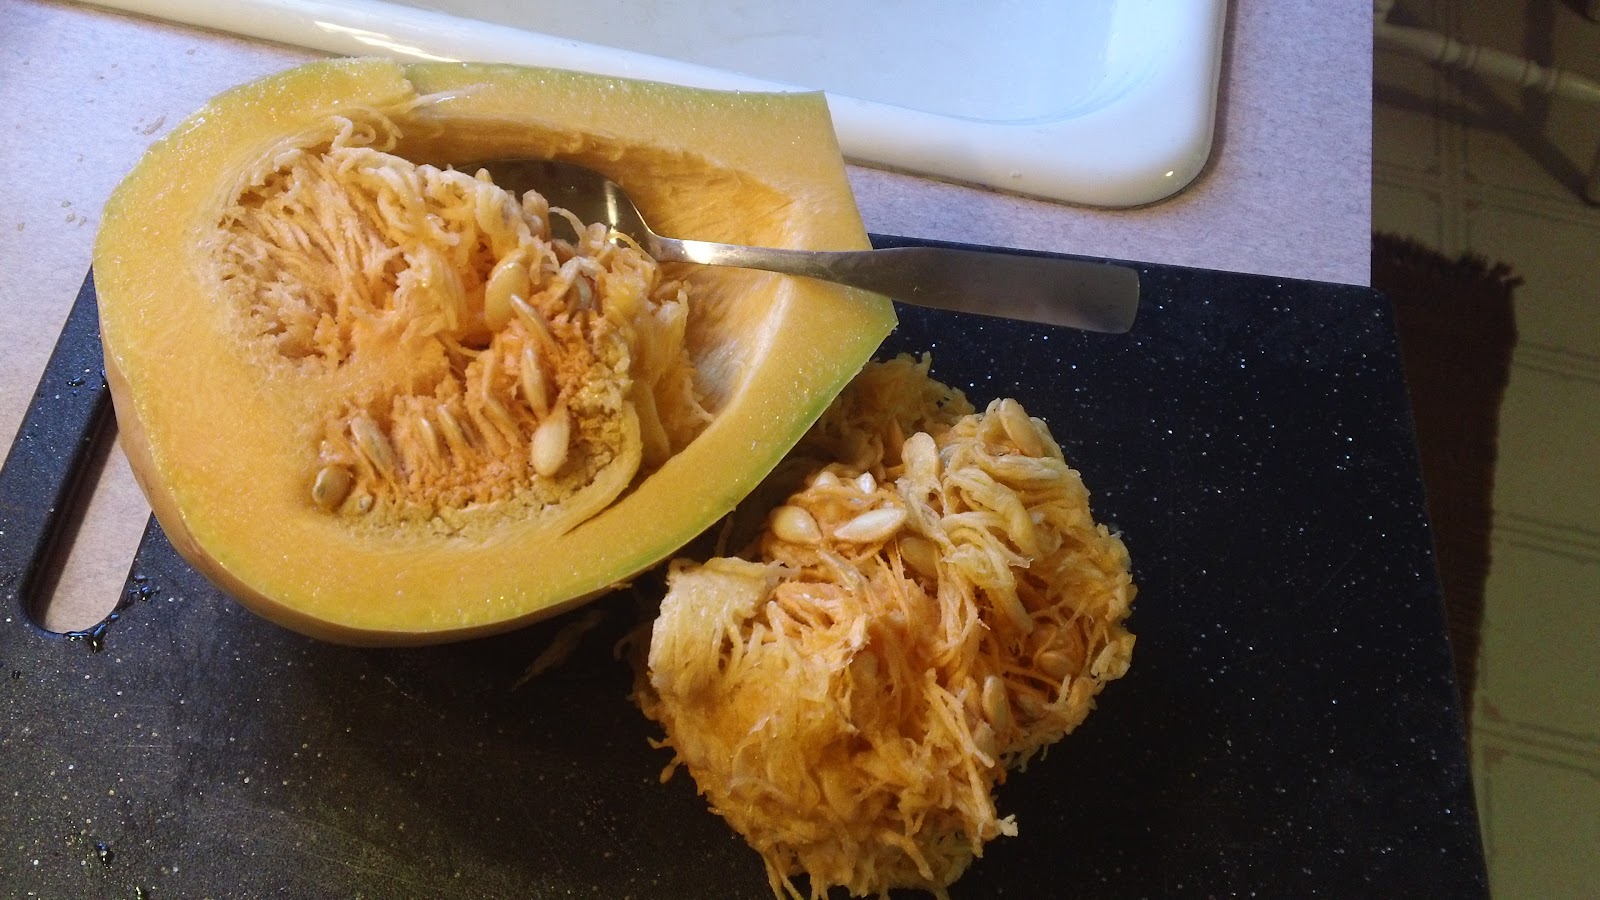
Step 3: Remove seeds & pulp.
The easiest way to remove all the goop is with a metal spoon. It's not sharp, but it scrapes the stuff out well. Reserve the pulp for Step 6.

Step 4: Place chunks face down on baking sheets.
Using as many baking sheets as necessary, lay the pumpkin chunks with the insides down on the sheets. There's no need to grease the sheets.
Step 5: Put in oven and pour water onto baking sheets.
Put the baking sheets in the oven before adding water to them! I always make a mess otherwise. Once they are in the oven, carefully pour enough water over them to cover the bottom of the sheet with about 1/4" of water. Let bake for 40-45 minutes or until soft. You can check doneness by poking through the skin of the thickest chunk with a fork. If the fork slides in easily, they're done.
Step 6: Clean seeds.
Time to get messy! This step is optional but worth it cause you can eat the results right away. Sort through the pulp (it's easiest to use your hands) to remove all the seeds. Discard the pulp. Rinse seeds and dry with a towel.

Step 7: Season and bake seeds.
Season the seeds however you wish. I used salt and pepper this time, but we like curry powder a lot, too. Lay seeds flat on a greased baking sheet or pie pan. Bake for about 20 minutes, stirring frequently. They are done when they are lightly browned and crisp.

Step 8: Let pumpkin cool.
Remove pumpkin from the oven, being careful not to spill any water that may remain on the baking sheets. Set aside to cool for about an hour. I always try to work with it too quickly and burn myself. Don't do that.
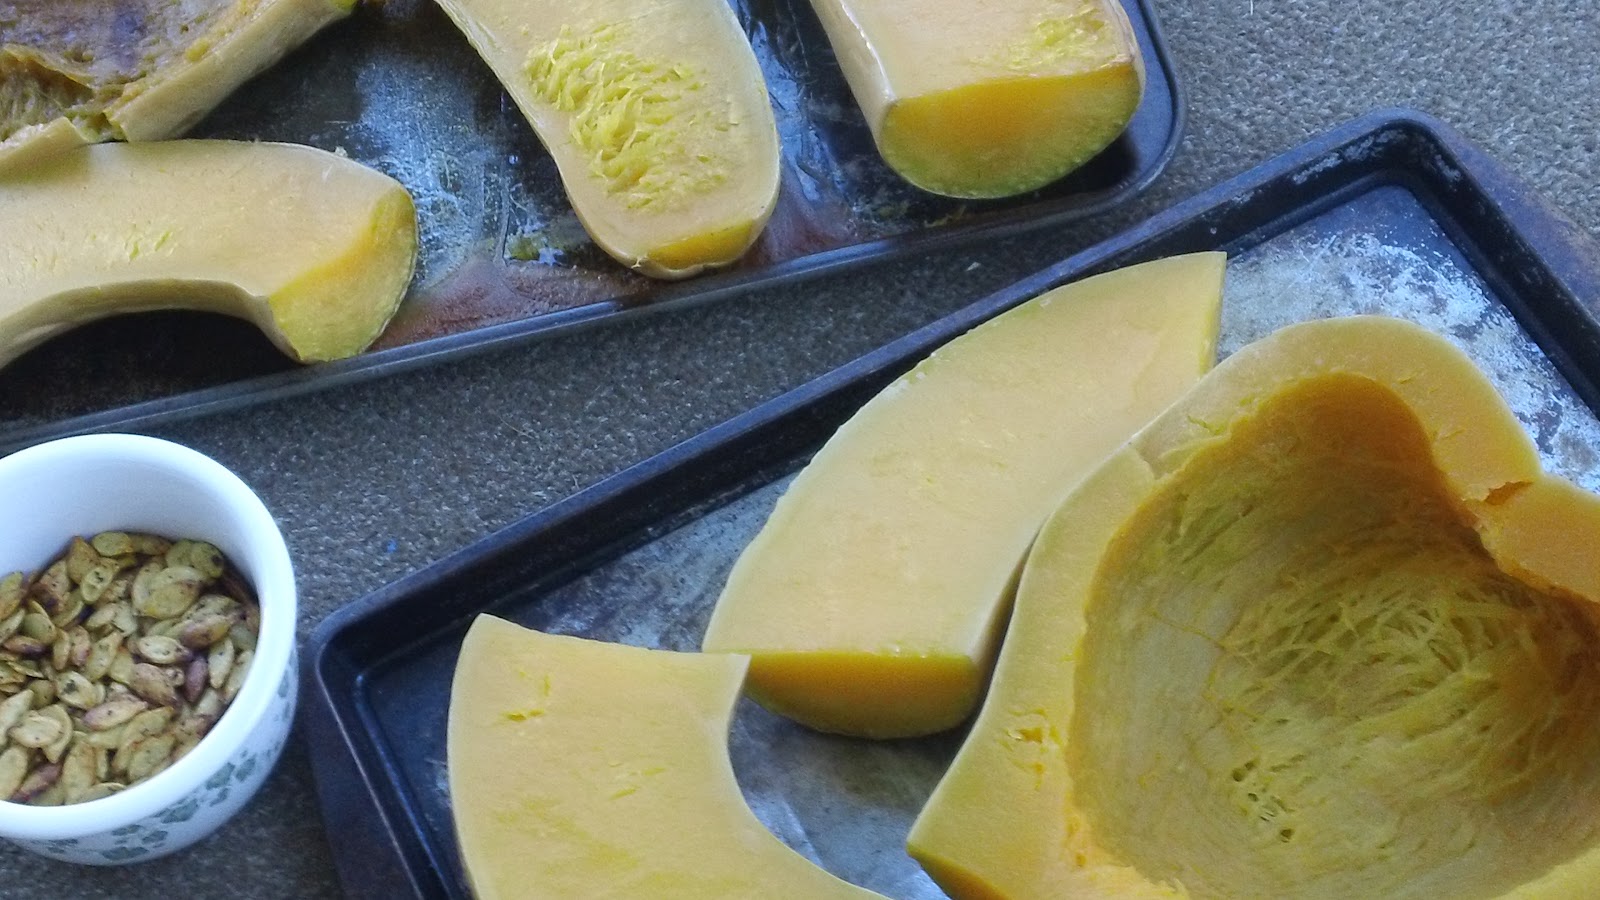
Step 9: Remove outer skin.
Using either your hands or a spoon, scrape the cooked pumpkin off of the outer skin. Discard skins.
Step 10: Puree in food processor/blender.
Working in batches, put cooked pumpkin into a food processor or blender. Process until smooth and creamy.

Step 11: Divide and freeze or use.
I usually freeze my puree in 1.5-2 cup batches. Most recipes call for anywhere between .5-1.5 cups of pumpkin, and I like to have leftovers for things like pumpkin oatmeal and pumpkin drinks.
Some yummy things to make with your pumpkin puree:
January 29, 2011
Skiing

This was my world for the past week. Snow, frost, gorgeous views, and cold weather at Killington Ski Resort in Vermont.

We went Nowhere...

...and Somewhere.

We skiied on Solitude, a slow ski trail through nature.

It was a nice long peaceful ski.

And we did plenty of not so peaceful, fast, steep fun runs, too!

All bundled up for a big day of skiing!

We really loved the tree skiing. It was out of the wind and kept us working so we stayed warmer.

My poor feet still suffered. They were red around the toes every day. (Don't mind the chipped polish...) It burned to take a shower because they were so cold. This was after the shower, so they were warmed up a little by the time I took the picture. I still have all 10 toes after 4 days of skiing!

The Bup successfully navigated the Beast. He now loves Killington, too!

Can't wait till next year! It was a great workout and so much fun!
September 27, 2010
Yesterday was a catch-all day around the house. All those odds and ends that kept nagging at me are finally done!
One of my big projects was to pick all but the very smallest leaves from the swiss chard plant and freeze the harvest so that we'll have greens during the winter. My loving husband provided a noisy soundtrack during this process: he was using the belt sander on the front window frames.

Step 1: Try to control the chard after picking it.

Step 2: Wash the swiss chard.

Step 3: Pull off the stems and tough parts and rip the leaves into pieces.

Step 4: Fill the bowl with leaves, cover and microwave to wilt the leaves.

Step 5: Drain the excess liquid and let the chard cool. Then package up to freeze.
All that for 3 16 oz. containers of frozen chard. Crazy.
Subscribe to:
Posts (Atom)
