

If you've never eaten kale before, my Dad will tell you that you're lucky. But deep down, he loves it.
If you've never eaten kale before, I will tell you that I'm very sorry for you. Go eat some.

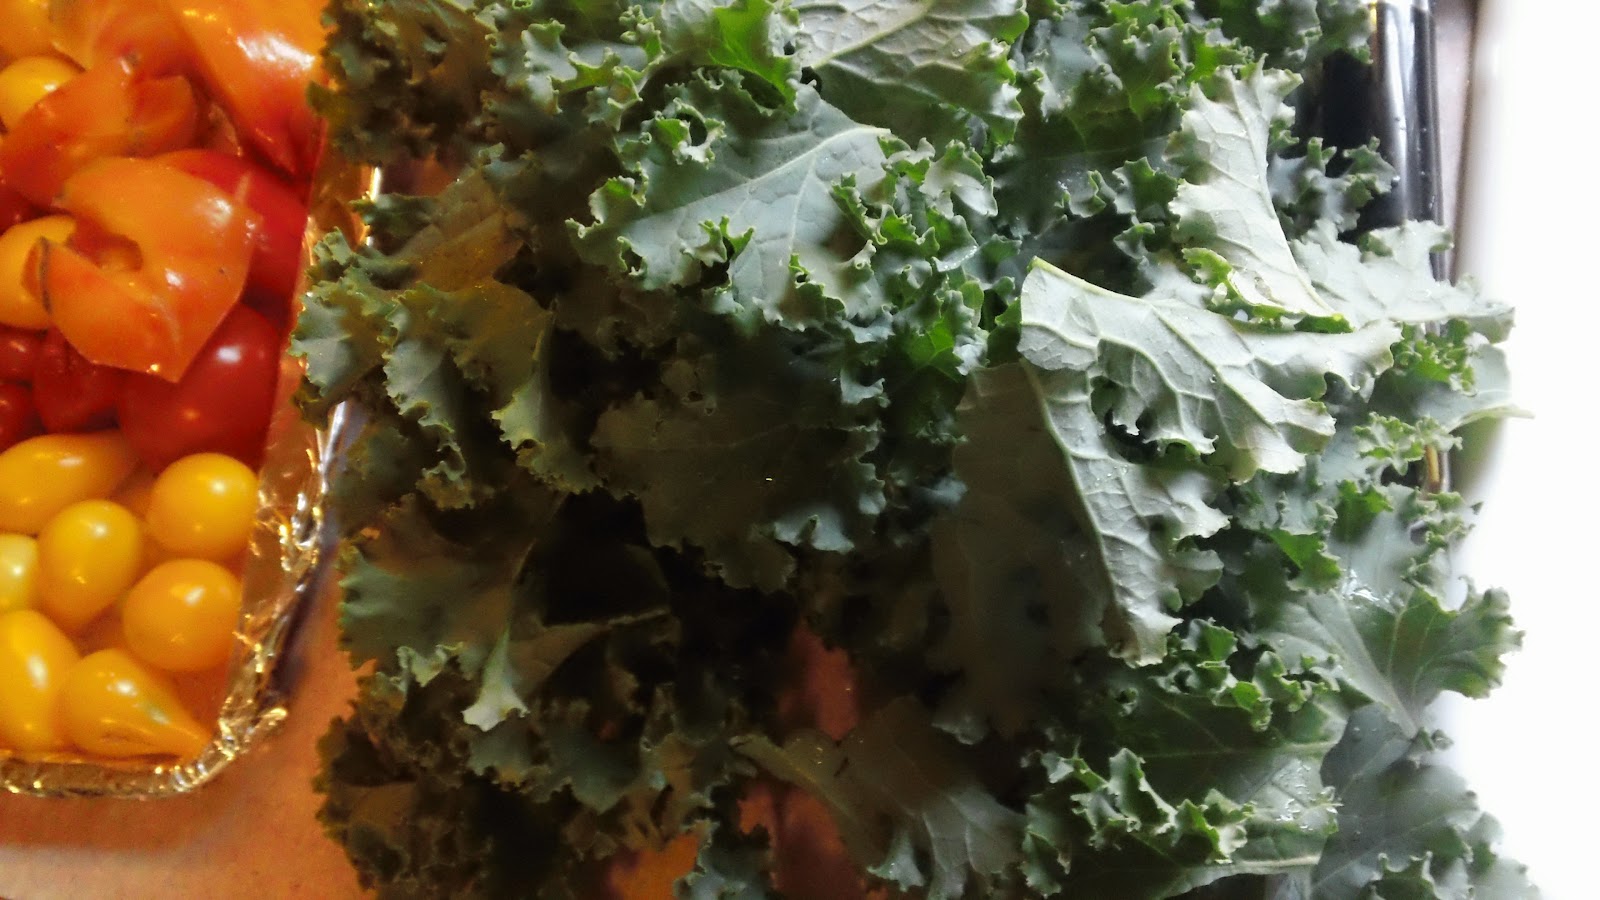
Look at it! Crazy curly leaves, pretty blue-green color...what's not to love?
Our favorite thing to make with kale is kale chips. In the winter, when I'm buying kale, I try to ration it. One big bunch = 3 times of eating kale chips. That's sad. Right now, I cut as many big leaves as fit into my garden basket and squeeze them all onto a tray, or two trays if I get crazy with picking it.
There are a lot of recipes on the web for kale chips, so this is not an original idea. It's just a really great one. I'll post our method here, because we (and by that I mean the Bup) have figured out some tips and tricks. He's the master of kale chips. I almost always burn them because I'm busy doing other stuff.

See? Squeezed. Spilling over the edges. Delicious bites of green.

Look how much it cooks down! This is why it's okay to squeeze it on there. The more the better.

When they're done, they should look about like this. Not brown, but less blue than before. The biggest test is to just pick up a piece and see if it's crispy. If not, put them back in for 1 minute and check again.
Do not, under any circumstances, put them back in for longer than 1 minute when they're just about done. You'll be sorry.

Ignore the chipped nail polish & focus on the chipped kale. It's crispy but not burnt & has a little crystal of sea salt on the edge.
It didn't last long after I snapped the picture.
Bonus for all of you protein lovers out there - kale has protein! Check out The Stone Soup for several other surprise sources of protein.
Kale Chips
Serves 2
Bup's tips are in blue.
1 large bunch of organic kale
olive oil spray
~1/2 tsp sea salt crystals
Preheat oven to 400*. Lightly (VERY lightly) spray a baking sheet with olive oil spray (4 quick passes usually does it). Wash kale and shake dry. Rip leaves away from stem into large pieces. Reserve any small pieces for other use* & discard stems. Lay leaves on tray in a single layer, pushing together as closely as possible ( I usually fold them in half and set just the edges on the tray. You want as little of the piece of kale to be touching the tray as possible, but each leaf does need to touch the tray. Don't pile them up). Very lightly spray leaves (Too much spray will cause them to wilt. Use even less than you used on the pan.) & then sprinkle with sea salt. Go light on the salt - a little goes a long way. Bake for 5 minutes and then check leaves. If the leaves are laying flat on the tray or are brown in color, flip them with a spatula (This is caused when there is too much oil or they were laid flat on the oil). Otherwise just shake the tray to make sure they're not sticking. Return to oven for 1 minute and check again. If the leaves are still limp, it needs another minute. If the leaves are crisp, they are done. Remove from oven and eat. (Try not to be sad when they're all gone!)
*Green smoothies!!! Post coming soon.
0 comments:
Post a Comment